In March 2020, I had to transition four business classes with over 150 students to a fully online experience, due to COVID-19. Since the class simulates a business environment, I knew I could interact with my students the same way I interact with remote corporate teams, through clear and timely communication.
In this post, I’ll go over what worked for me, and give some tips for how you can set your own classes up for success in a remote environment.
When transitioning my class, the first task I had to solve was how to communicate with such a large number of students that I previously met in person for hours during the week. Second, I had to work out how students could collaborate, exchange ideas, and deliver a semester project – all while working remotely. Third, I needed to provide the means for them to keep managing their project online. Finally, I had to think about replicating face-to-face in-class interaction while giving real-time feedback.
Selecting the right tools
Every tool I introduced to the class had a specific and immediate use with clear benefits. If you can’t state in one sentence why you are implementing a platform, think twice.
On the other hand, don’t be tempted to use one tool for everything. In the well-known words of Abraham Maslow, “I suppose it is tempting, if the only tool you have is a hammer, to treat everything as if it were a nail.”
For example, Slack may be great for conversations. But when it comes to brainstorming, it falls flat. Visual thinking is the most effective and clear way to generate and build on ideas. That’s why every meeting room and classroom has a whiteboard.
Need unstructured creativity and ideation? That’s what it’s time to bring Miro into the classroom. It’s an online collaborative whiteboard that can be used by corporate teams, educators, or anyone who wants an open canvas to organize their thoughts.
Here are some of the benefits I’ve found to using Miro:
- It allows a group of people to brainstorm and exchange ideas, using a visual interface.
- In one view, it provides a full picture of the problem and possible solutions.
- Industry-standard methodologies like mind maps, story maps, Agile workflows, Kanban boards, timelines, Fishbone diagrams, and more are easily available.
Getting ready to use Miro for remote education
There isn’t a lot of prep work you need to do to start using Miro, but here are some initial steps I recommend.
Sign up with your .edu email account
Miro has excellent benefits for educational purposes. Get a lifetime free educator’s account to get access to all of the most useful and popular features for your class.
Keep separate boards for different classes
Once you have an Educator plan, you can have more than three active boards at the same time. You can also maintain different “projects,” which are like folders for your boards.
Encourage your students to sign up
Students who use their .edu email account can get two years of Miro for free. However, you can also collaborate with students on your board, even if they don’t have an Education account.
Start playing with Miro right away
It’s easier to understand all the features once you start using it. So, dive in or watch this popular Getting Started With Miro webinar to get a grasp on the basics.
Install Miro within Slack
Once you enable the Slack integration, you’ll be able to get notified about activities on your boards directly within Slack. And your students can see when anyone has commented or replied on their board.
Integrate some apps
There are a lot of handy add-ons that can make your Miro experience richer. Go through the app directory and choose ones that make sense for your needs. Some to consider: Voting, chat, Google Images, Icon Finder.
Sign up for a free Education account
Want to try Miro in your classroom?
Get a free Education Account
Tips for using Miro with your class
Once you’re set up, you’ll want to have a plan for how to get everyone up to speed and engaged with the tool. I’ve included some examples of real projects where I incorporated Miro.
Onboard your students
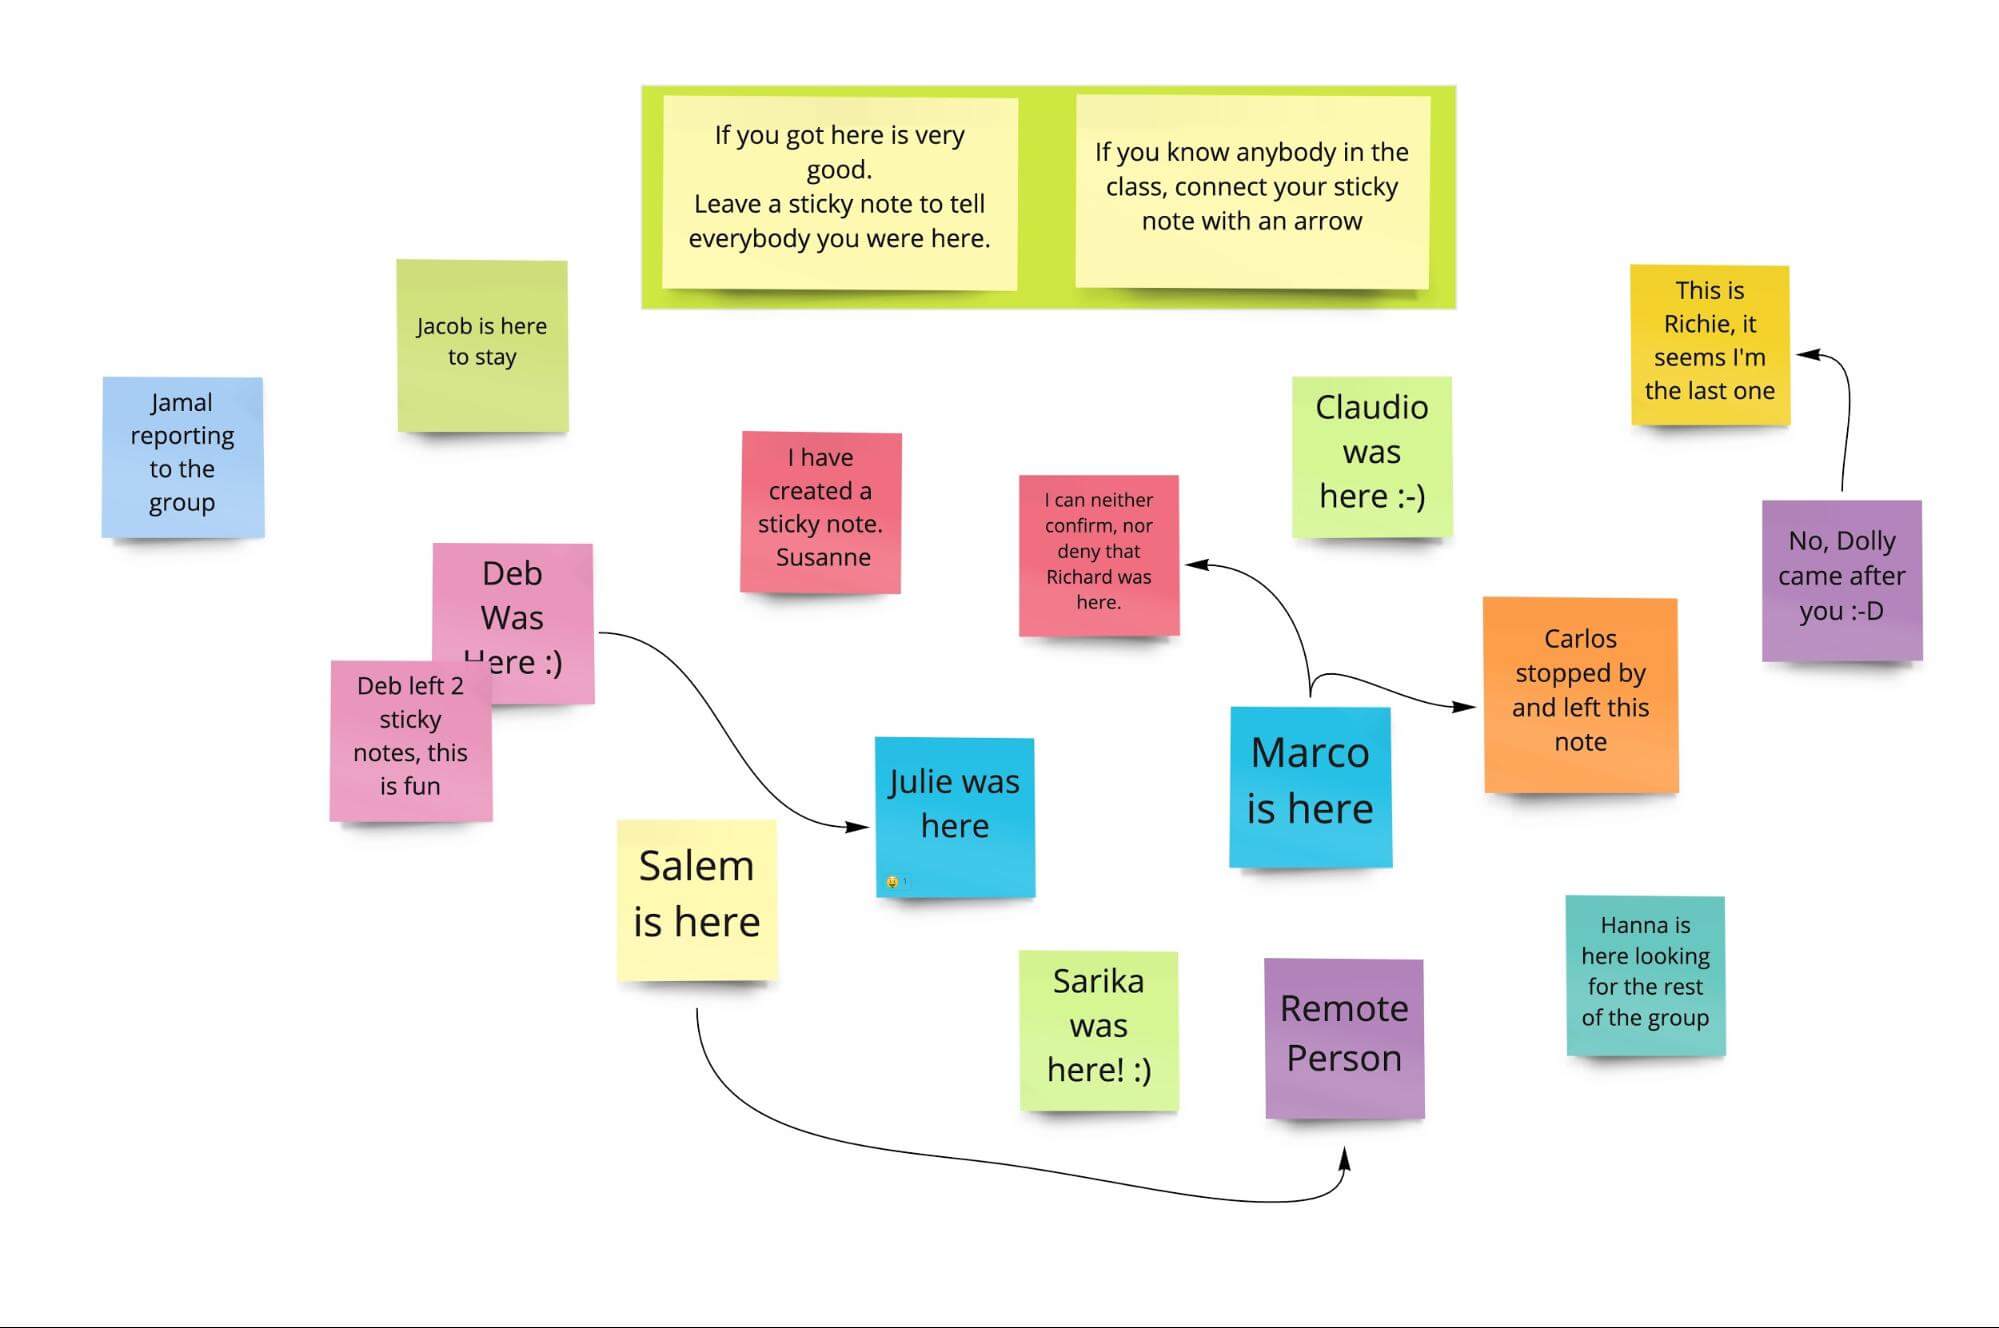
Before you start with any exercise in class, make sure your students have an account and help them familiarize themselves with the interface. This short intro course can be useful, but I also recommend inviting your students to join a welcome board that you create.
Ask everyone to perform a simple task, like leaving a sticky note with their name. This served a dual purpose: First, they got to play with the interface. Second, I knew who was still missing and had the opportunity to reach out to them.
Start with a simple brainstorming session
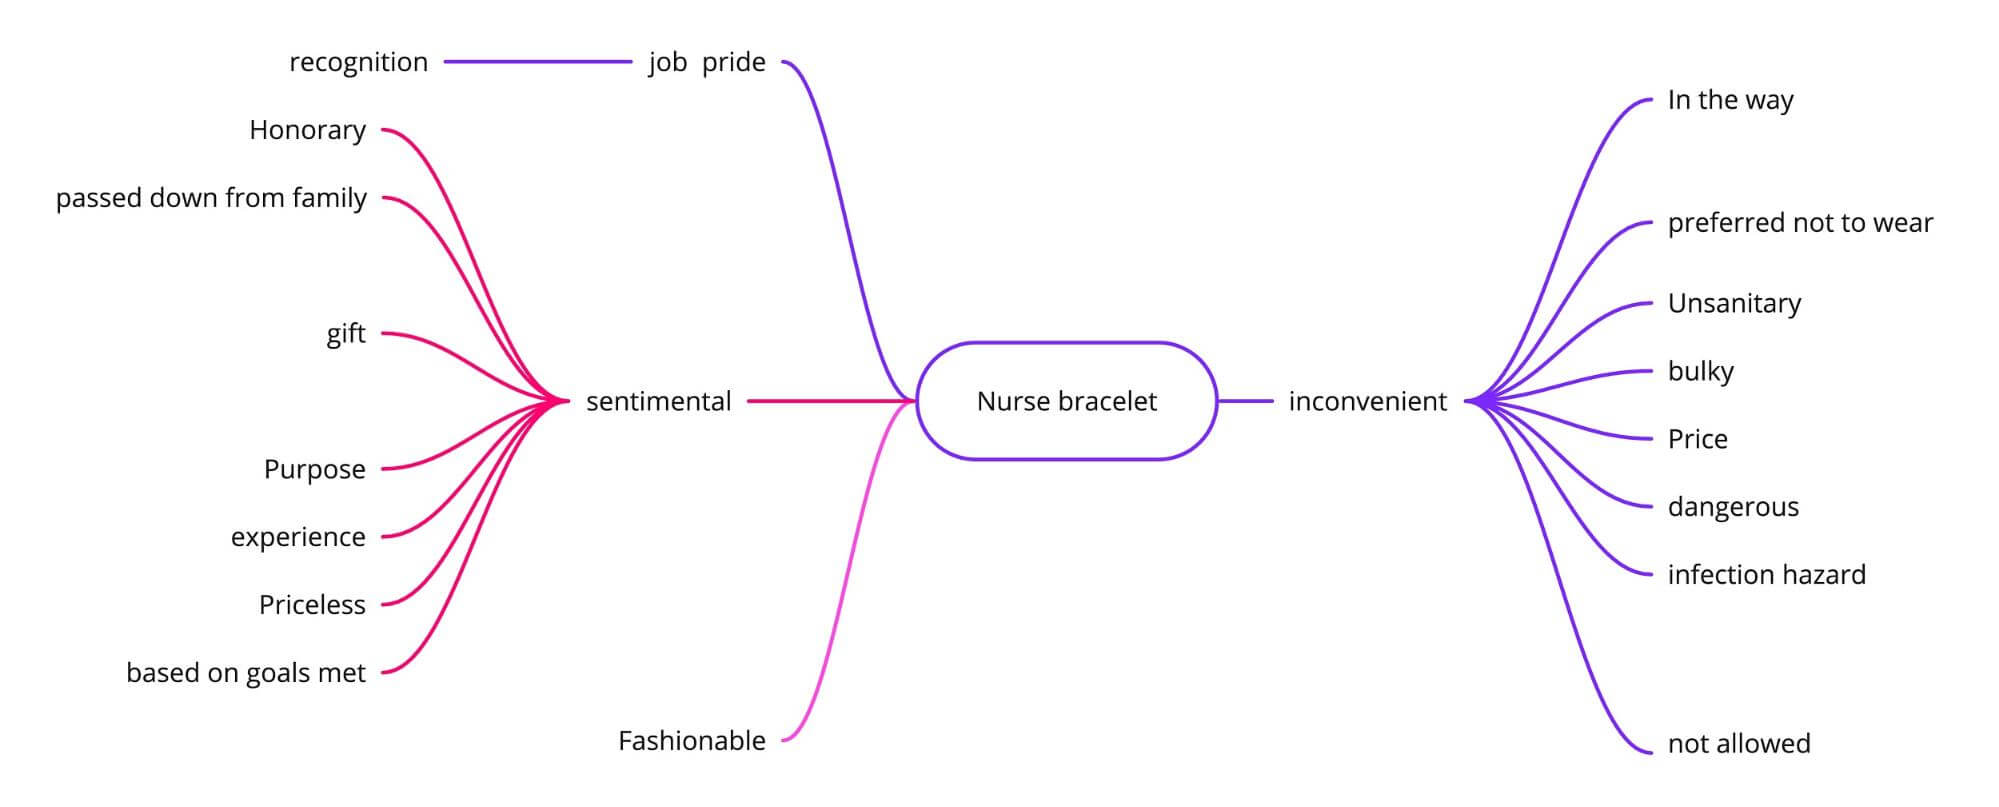
I find it’s easiest to begin with a basic brainstorm using a mind map. Students catch on really fast with the way it works and start seeing the immediate benefits. It’s fun to see how the map starts growing in a messy way, taking form as it grows. This is an excellent tool for helping those who are usually shy or don’t like to participate in class (for whatever reason) share their voice.
In one of my marketing management classes, I let the cohort choose a product from trendhunter.com and start talking about it. You can see an example of how students visualize a product’s qualities in a mind map here:
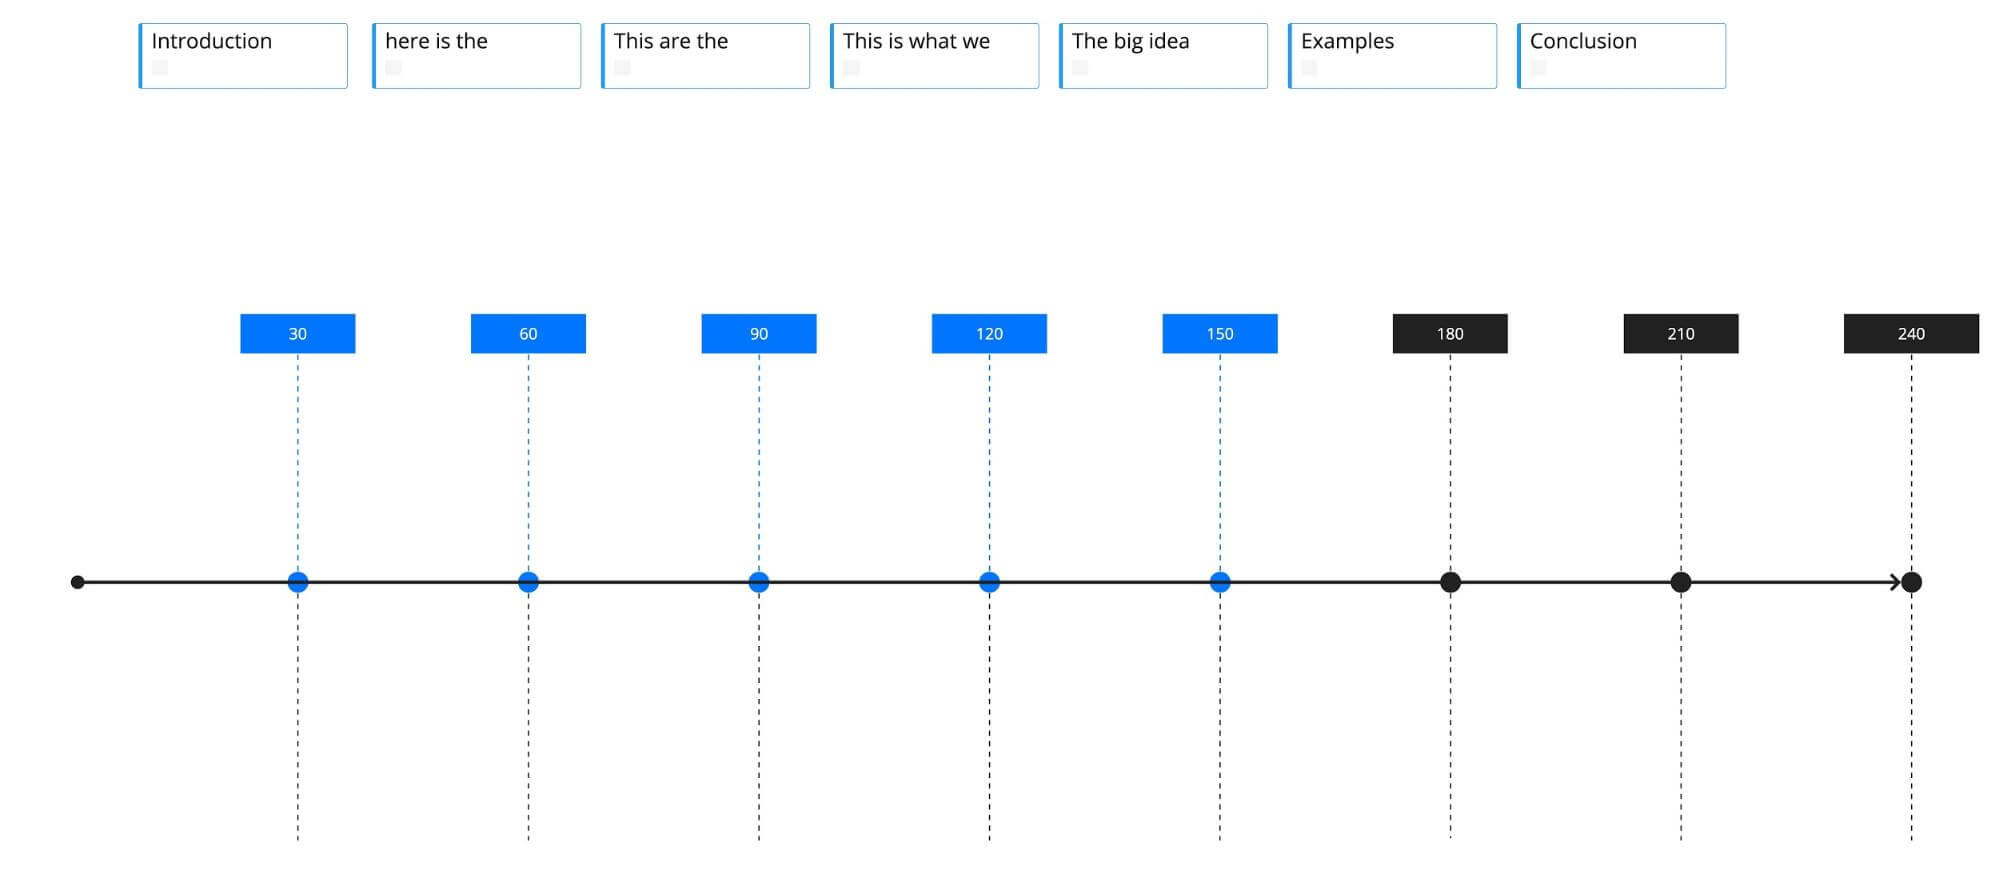
Create a “starter kit” for complex projects
You can prepare a board that students can modify. For example, for my advertising class, I provided them a template to create a campaign 4-minute reel. They found it very useful to do this upfront storymapping work in Miro, which gave them a clear idea about the story, what needed to be included, and what needed to be eliminated – before working in After Effects.
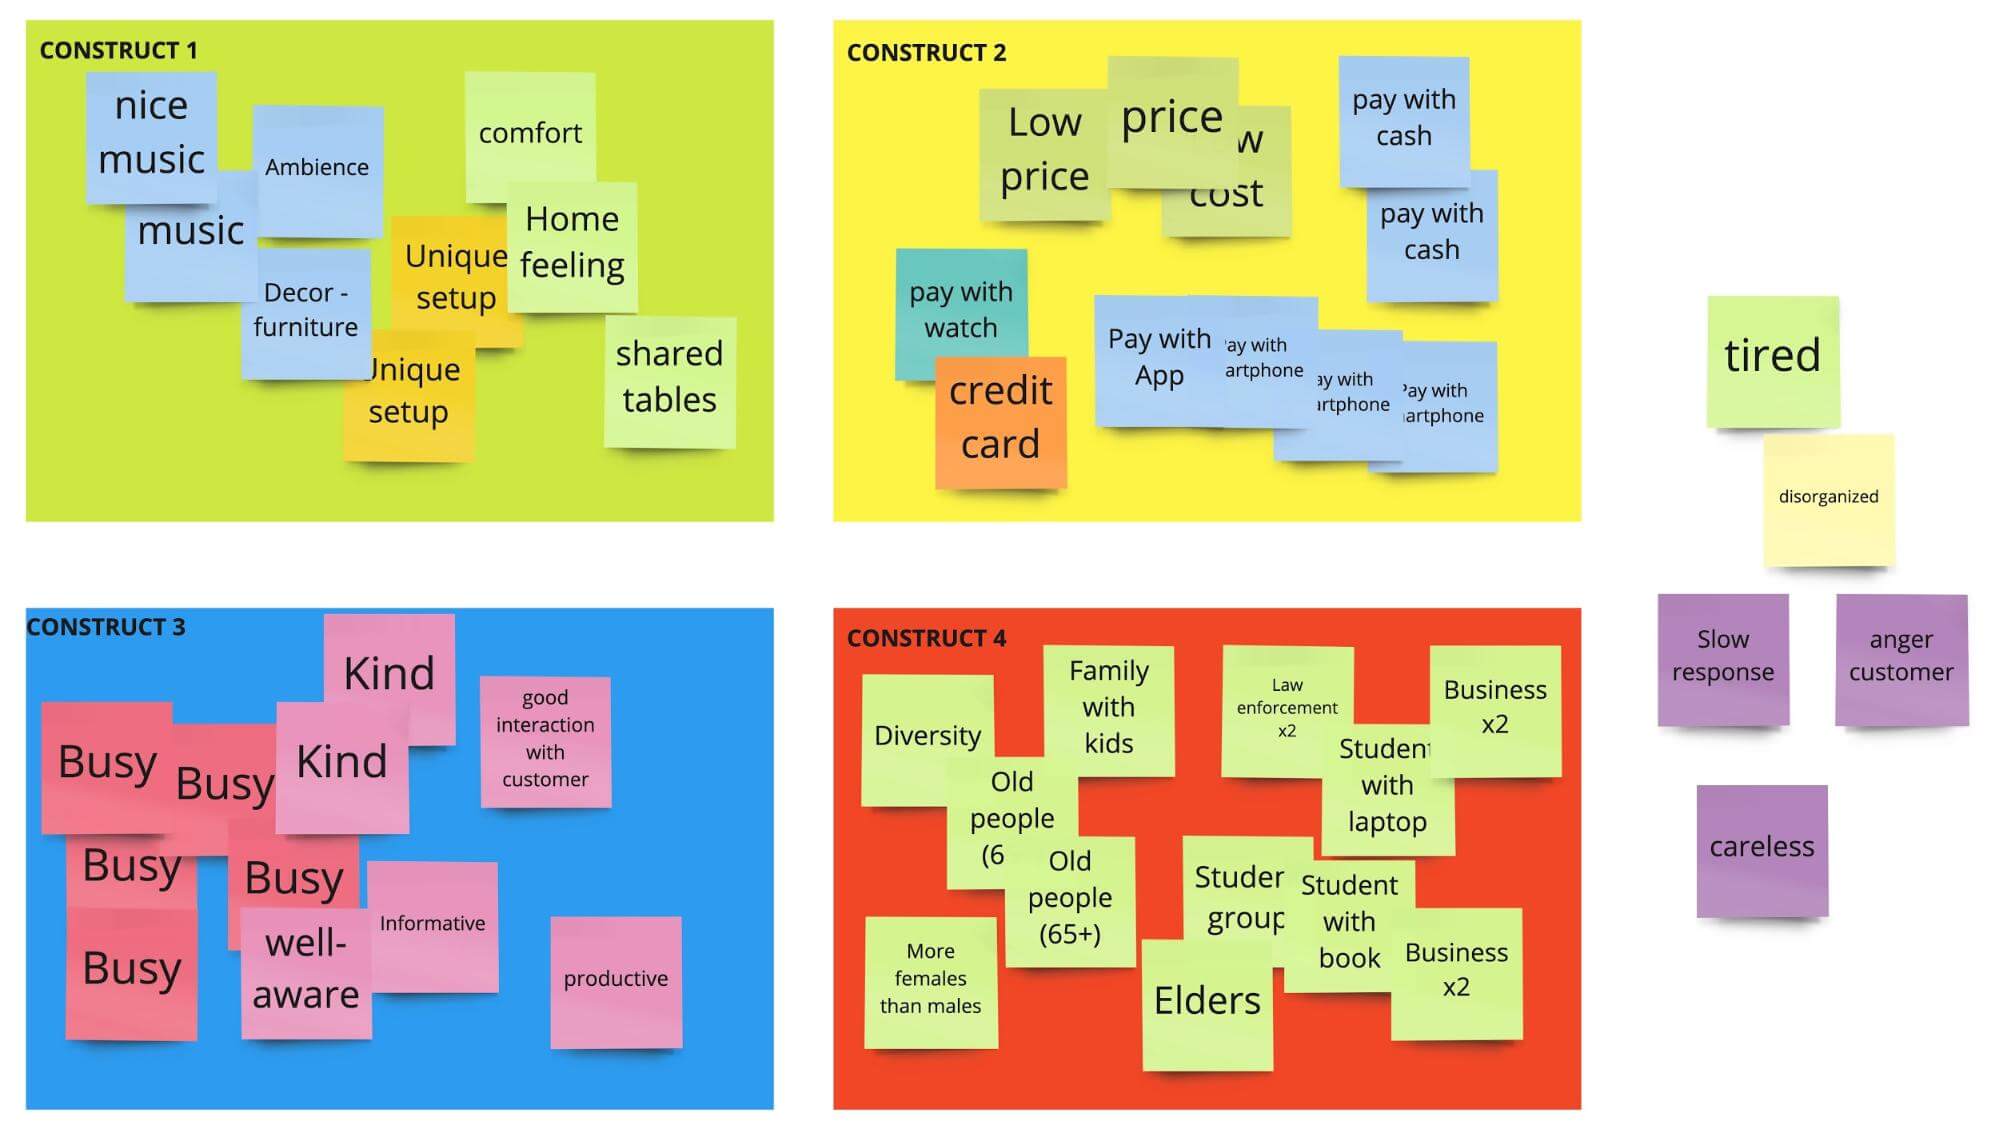
Use sticky notes for qualitative research exercises
In one of my marketing research classes, I asked students to do an observational exercise. Then I asked them to code what they wrote on their observation. Students created sticky notes and started organizing them under different constructs, trying to identify similar themes.
So many ways to use Miro
Now that students are in a hybrid learning situation, it’s essential to teach them how to collaborate online. Knowing how to work with Miro will help them develop these skills, as well as adding a crucial line on their resume.
For more ideas on how to use Miro, check out the Template Library, Miroverse community template gallery, and the Miro Community.